How to make your own freezer paper
Apr 03, 2020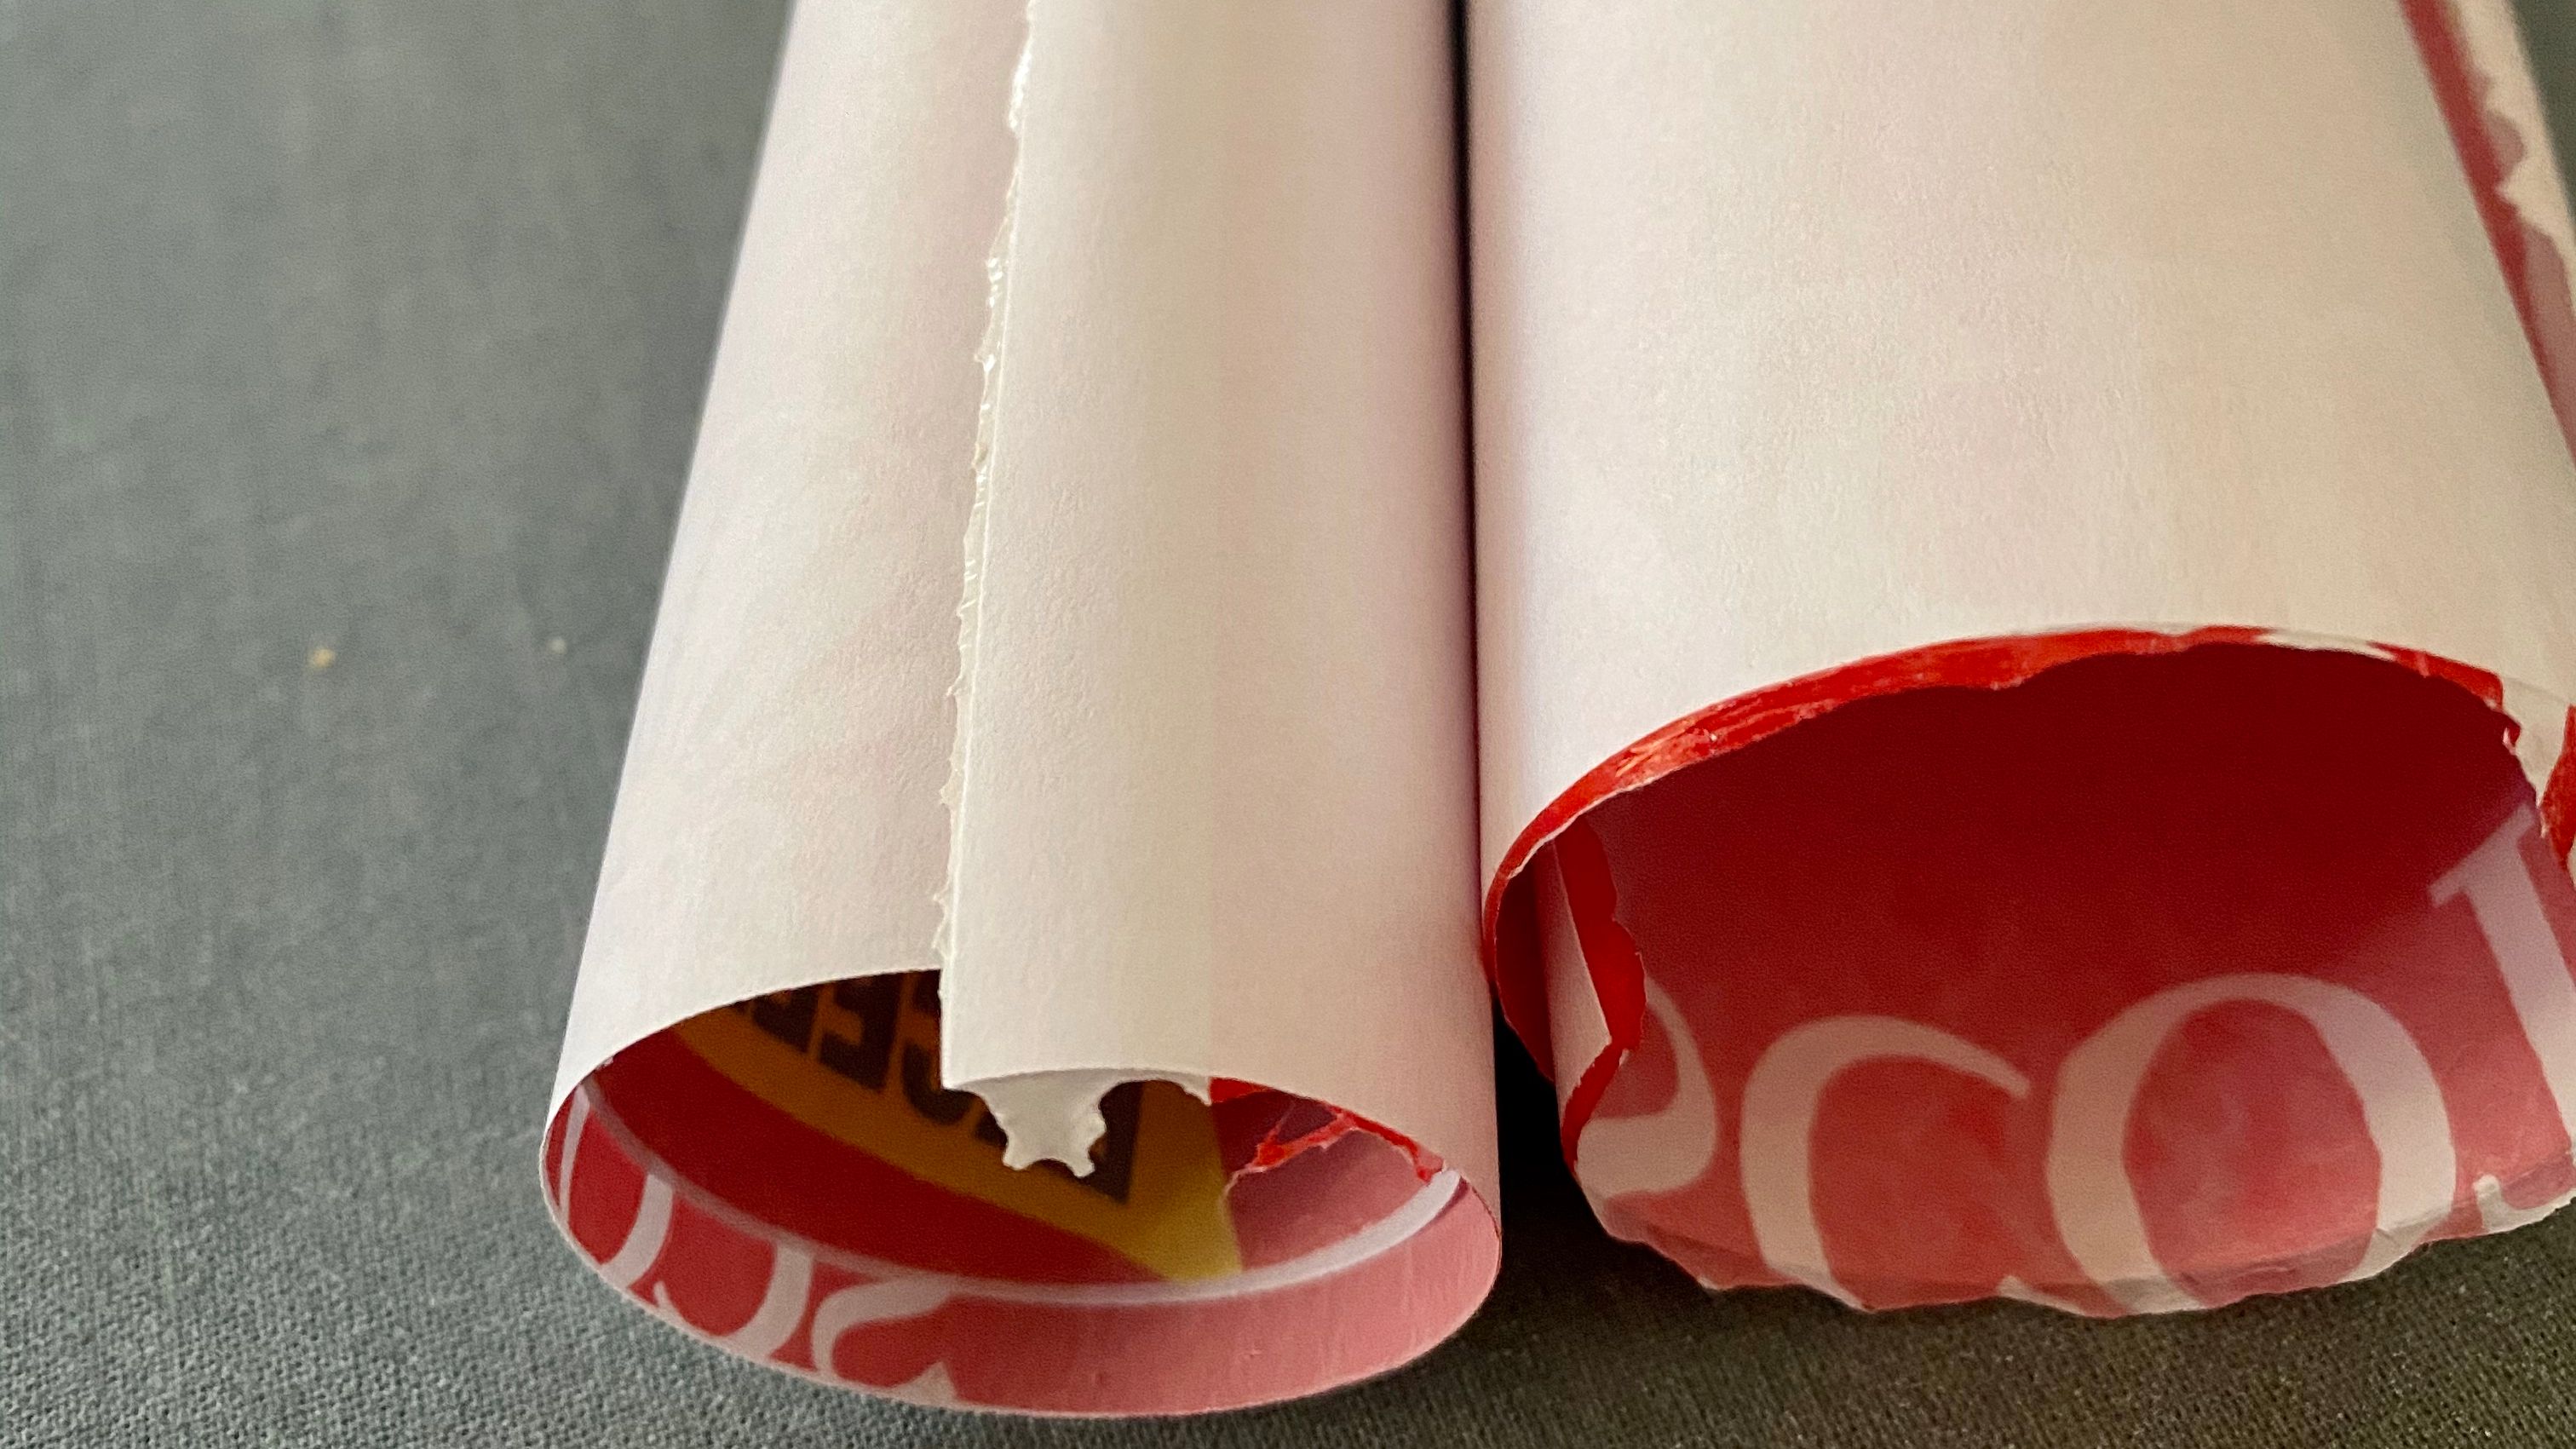
Some of my readers will have come across references to freezer paper for craft related purposes. And, depending on which country you live in, you may not even be familiar with the product. In Australia, it doesn’t exist, and I would always get frustrated that I couldn’t easily access it for craft related projects.
And some of you are probably wondering what is freezer paper? Well, that’s a good question!
Freezer paper is a thick paper with a plastic, or wax coating on one side. Originally it was used for wrapping food for storage in the freezer (hence its name!) It protects the quality of nutrition and flavour of the food during the freezing process.
I like to use freezer paper as a way to stiffen fabric so that the fabric can be run through a home printer. This enables many different opportunities to print designs for projects. In particular, I like to use this method for printing sashiko stencils directly onto fabric (which skips having to draw up complex patterns by hand). I have been collecting downloadable pdf sashiko patterns on my Pinterest board.
For more information about this process, I have a previous post which outlines the steps on how to print onto fabric using a home printer.
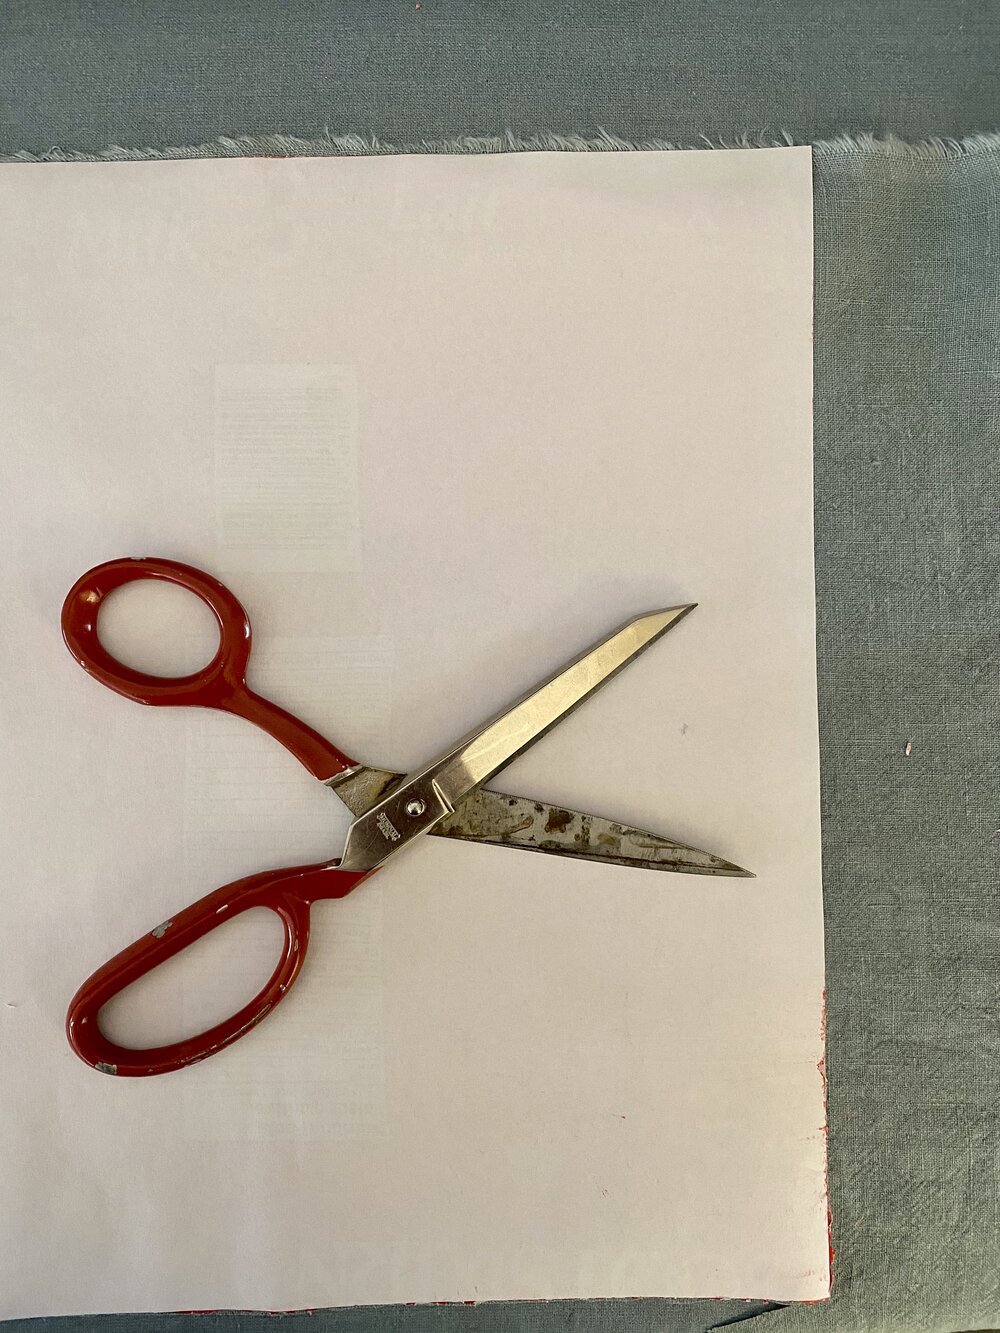
Making your own freezer paper is a very easy process. All you need is:
-
medium thickness plastic bag (I used a milk bag, a plastic shopping bag would also work. The thin plastic bags for fruit are too fine and will not work)
-
scissors
-
printer paper
-
iron
-
baking paper (or you can skip this step and iron directly onto the fabric
Process
-
Cut plastic bag to the same size as the printer paper
-
Place printer paper, then plastic bag, covered with baking paper on the ironing board
-
Iron with a hot iron (mine was set to cotton setting with minimal steam)
-
Peel baking paper away from the plastic and paper. The iron will melt the plastic onto the paper. As it cools, the paper will contract and roll up
-
To stick it to a piece of fabric, place the ‘freezer paper’ plastic side down onto the fabric.
-
Iron with a hot iron
-
Trim the fabric to the same size as the paper.
et voila! Now you have fabric that you can run through the printer!
* When printing onto fabric, before embarking on a final project test to see if your printers ink is permanent or washable. This varies between the different brands. Some brands are permanent, and others will become permanent when set with a hot iron.
** Always exercise caution when working with a hot iron.
*** Melting plastic can make a mess, so cover your work areas with old fabric or use an old iron