
Sashiko 101: Threading a Needle
Jun 15, 2026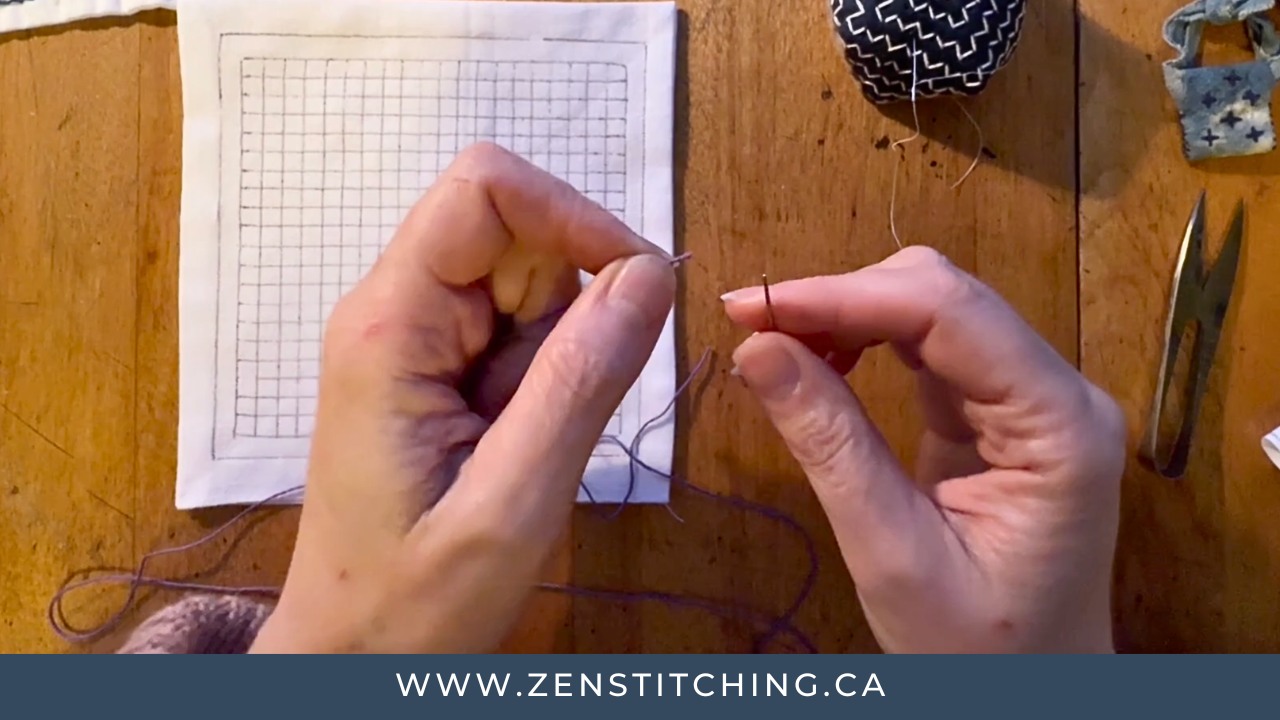
Learning something new can be really hard for a lot of reasons, not the least of which is the frustration that can be caused by not getting the hang of things right away. And when you're learning from someone with lots of experience, sometimes it can be easy for them to forget some of the little things that become second nature when you've been stitching for a while - like how to thread a needle. Struggling at such an early point in the process can be discouraging, making it feel like it might not be worth learning after all.
Luckily, there are resources here to help you, and today I wanted to collate the tips and tricks that I've picked up over the years to make this task easier for you. So whether you are picking it up for the first time, or you are just struggling with a particularly stubborn needle and thread, you should find something useful here.
Please note: in this post, there are links to some tools you can purchase to make needle threading easier. These links are affiliate links, which means if you purchase from them, I'll make a small commission at no extra cost to you. I would never recommend something I didn't think would be genuinely useful!
Preparation
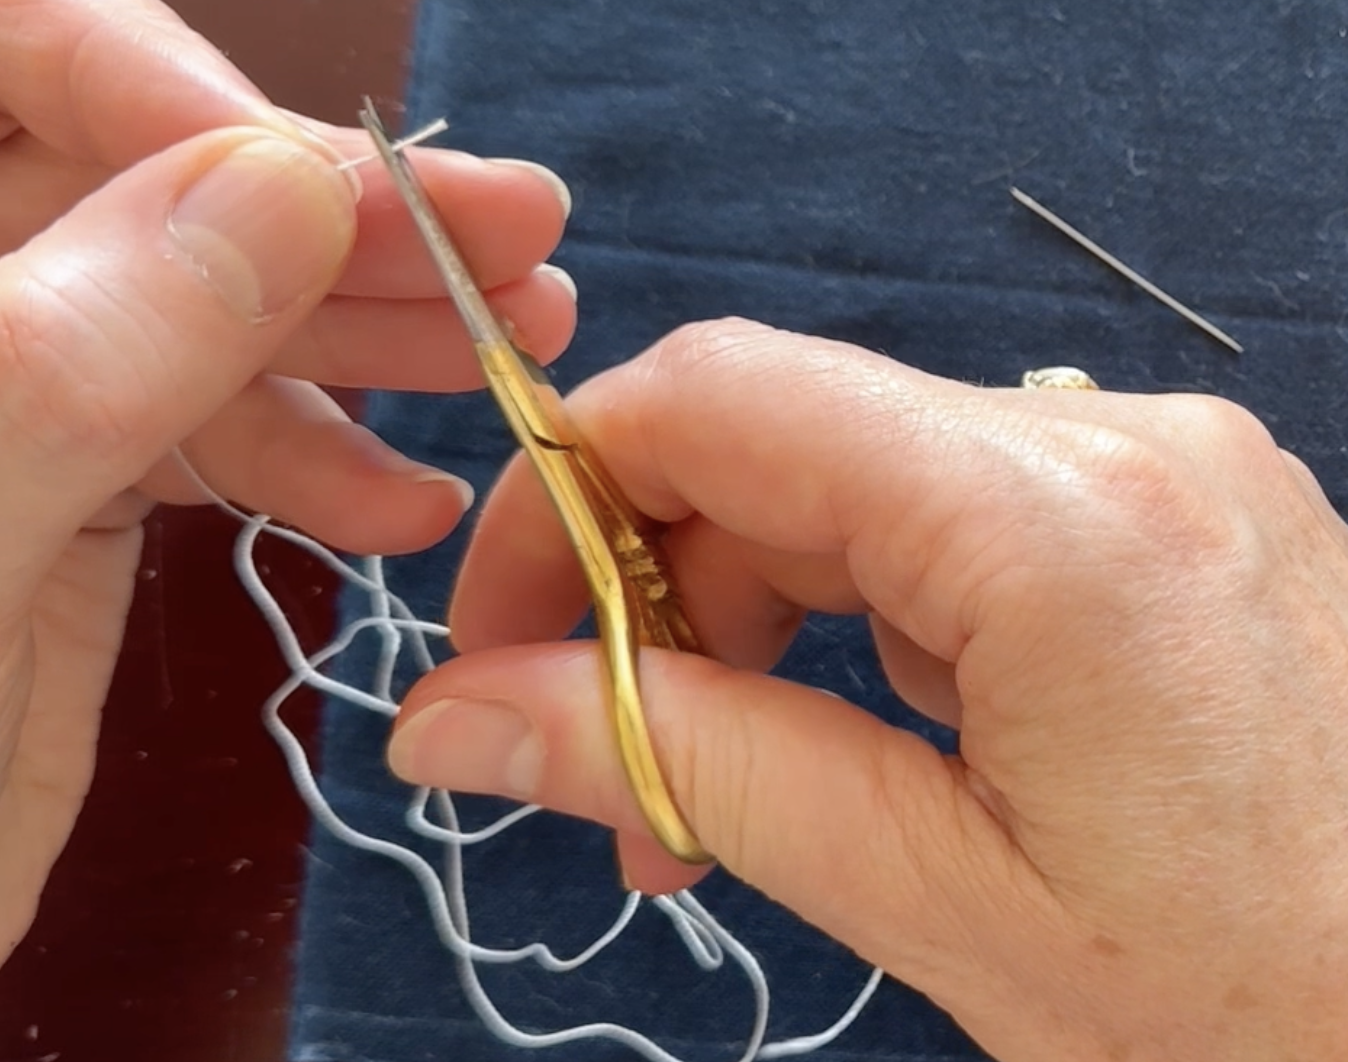
You'll want to make sure you cut your thread with sharp snips or scissors - if the thread end is blunted and frayed, it makes it much more difficult to get it through the eye of the needle. With sewing thread, I was always taught to cut on an angle, so that you have a sharper point to go through the eye of the needle. With multiple strands of embroidery thread, sashiko threads, or plied yarns, though, I find a straighter cut is better, so that all the strands are more likely to come through the needle than just half.
Threading the Needle
Now it's time for the hard part - the actual threading! I'll start with some methods that just use your hands, the thread, and needle, and then I'll talk about some tools that can help.
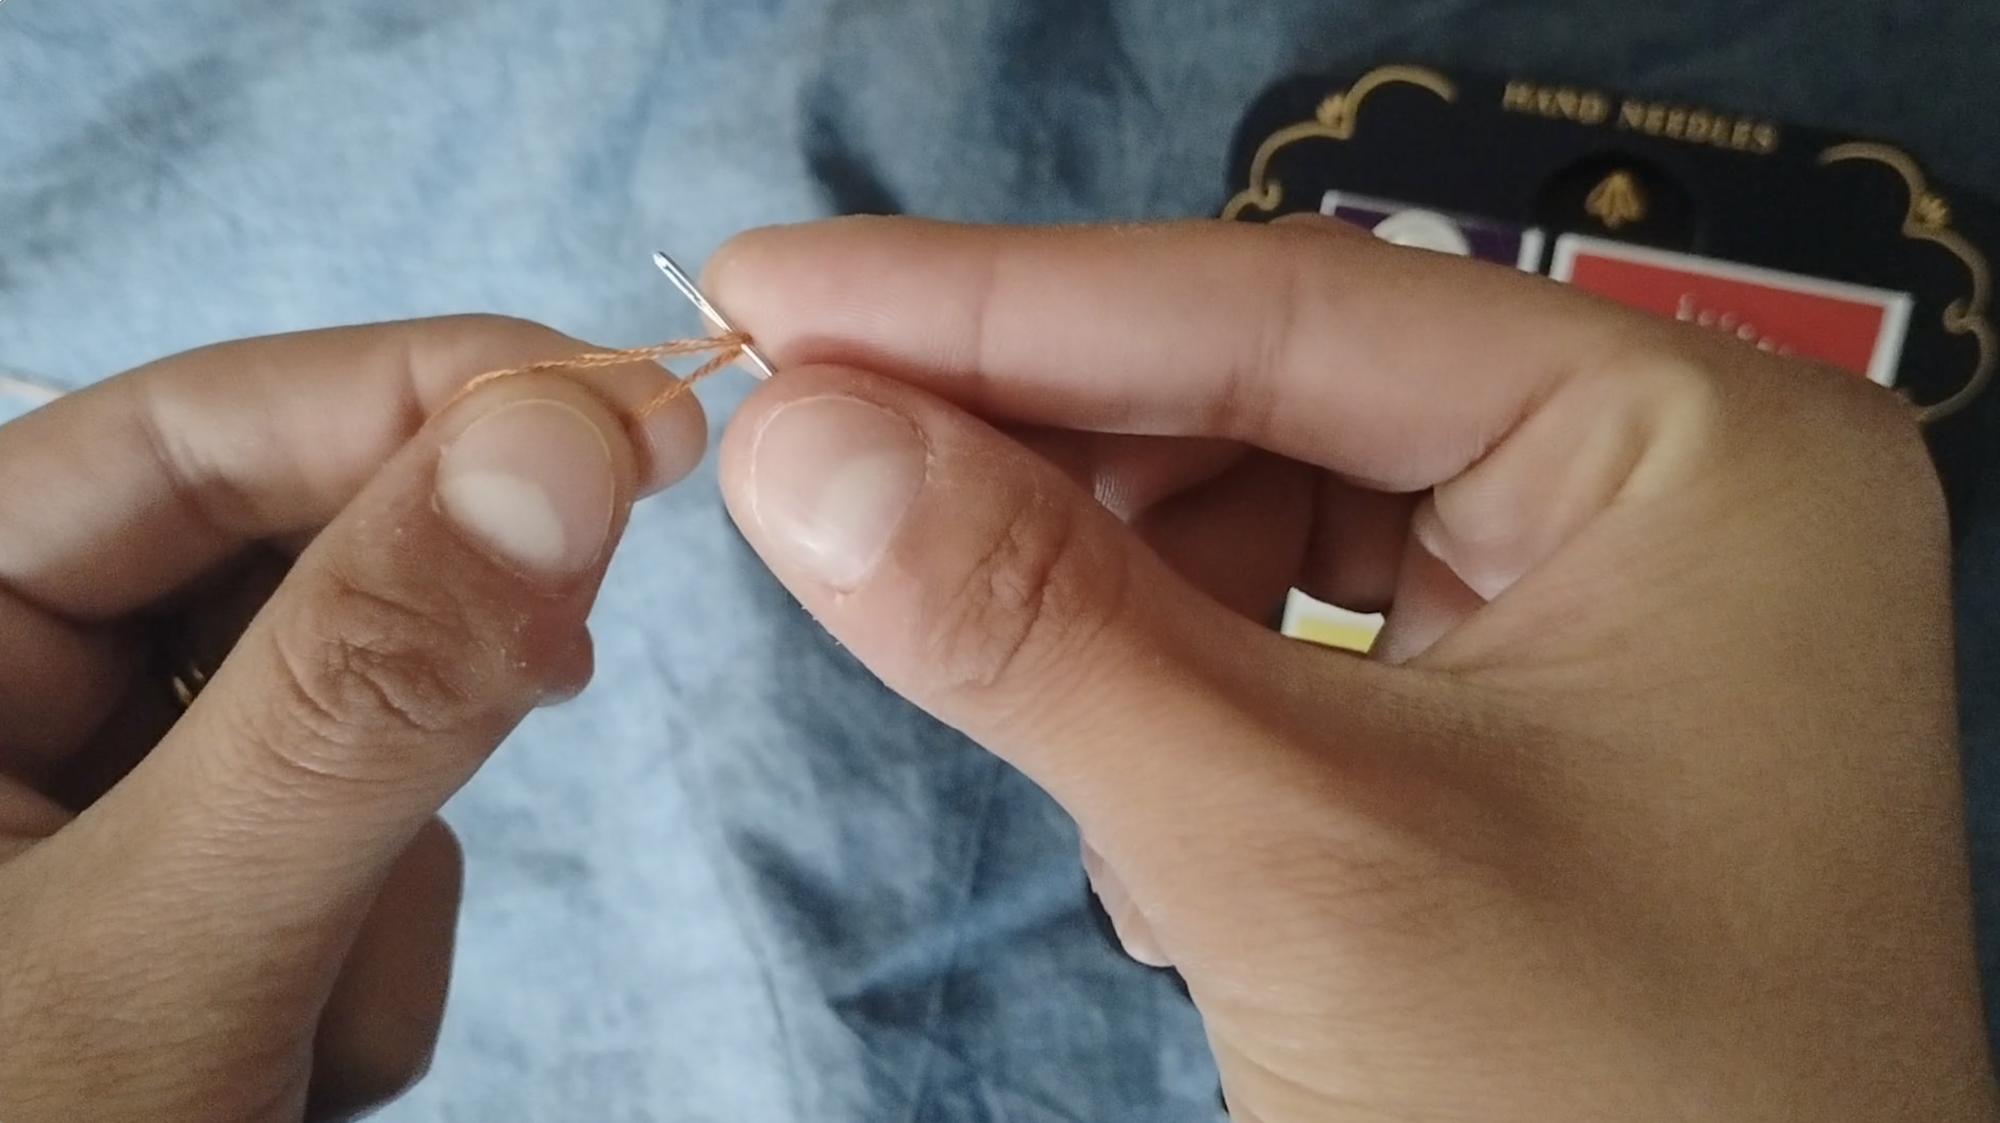
The Pinch Method: When we hear "threading the needle," it's natural to want to try to do just that: push the thread through the needle. I find it's actually more accurate to say we are "needling the thread;" holding the thread pinched between the thumb and forefinger of the non-dominant hand, push the eye of the needle over the end of the thread. This gives you a little more control of the whole situation!
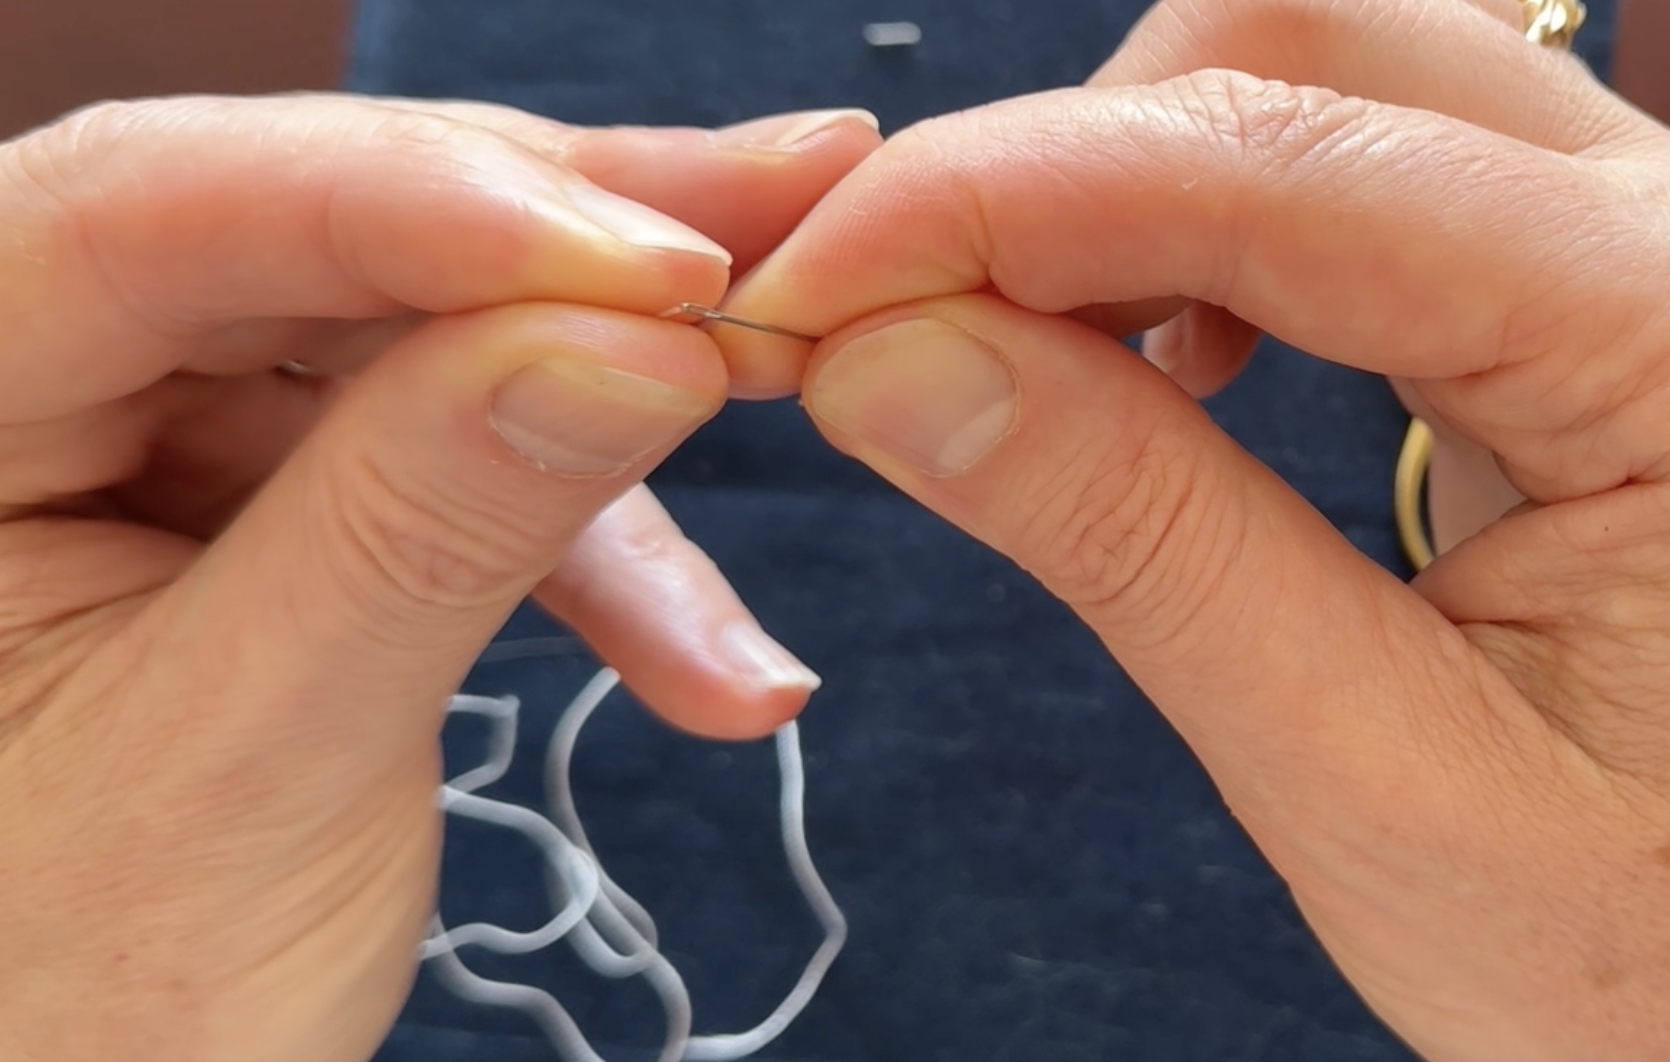
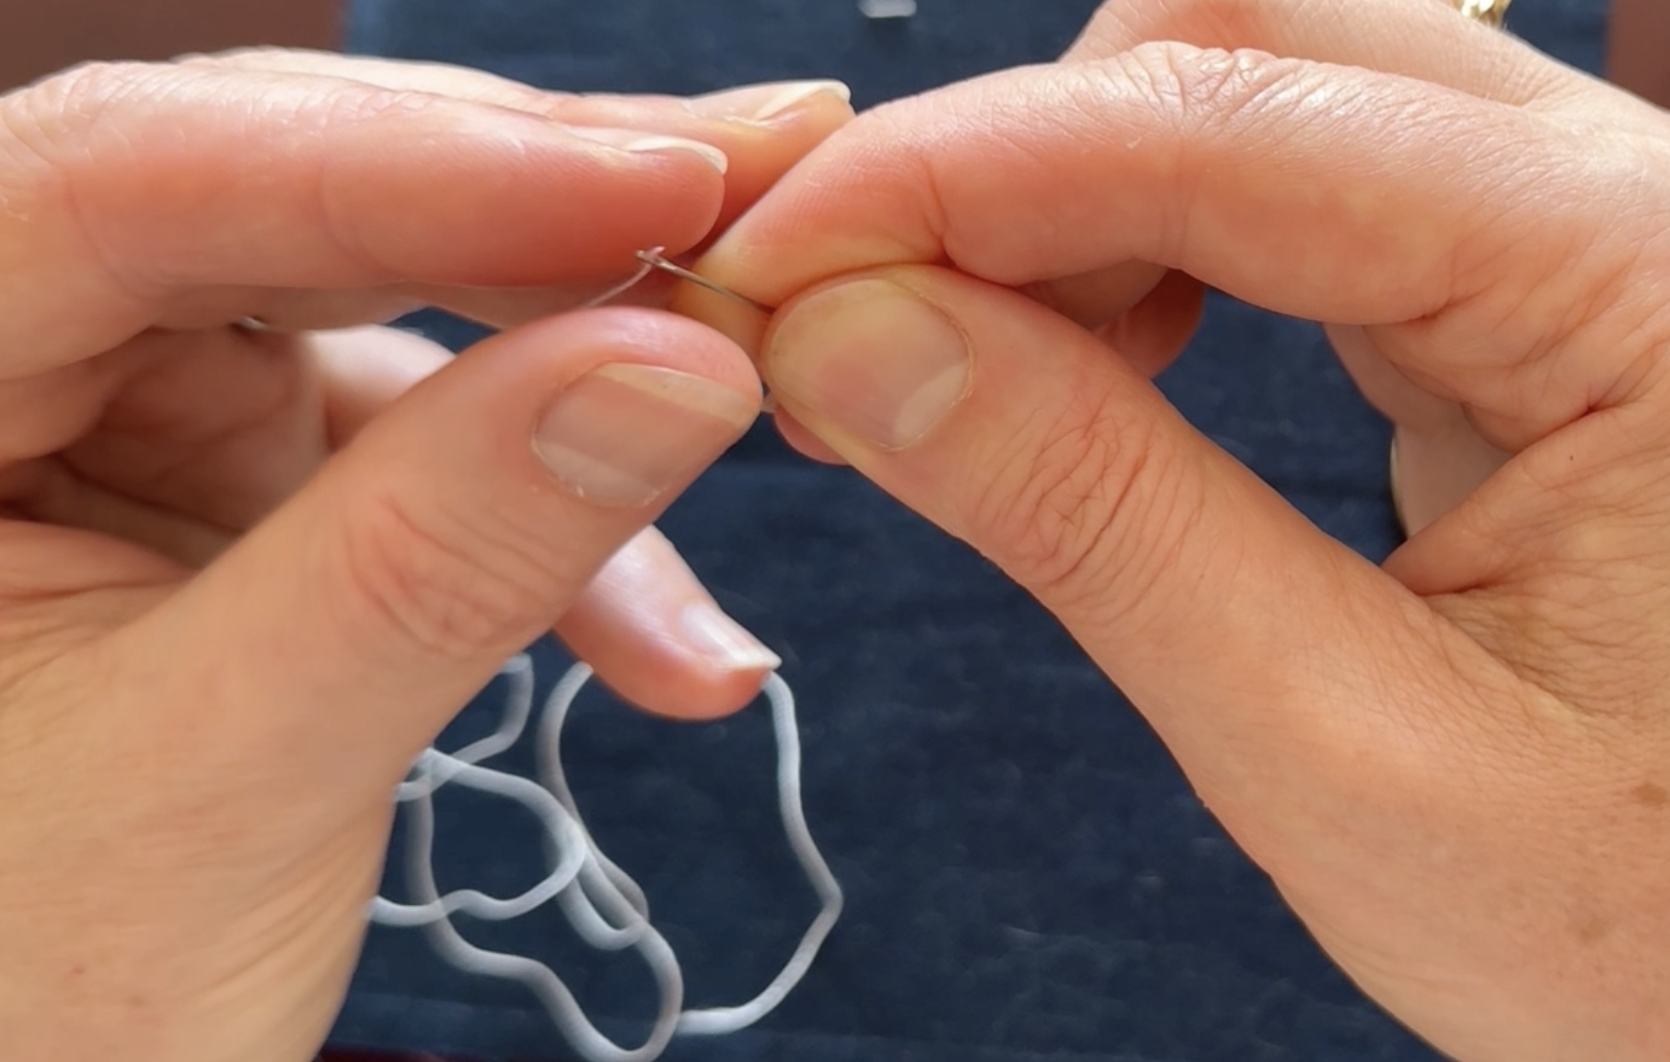
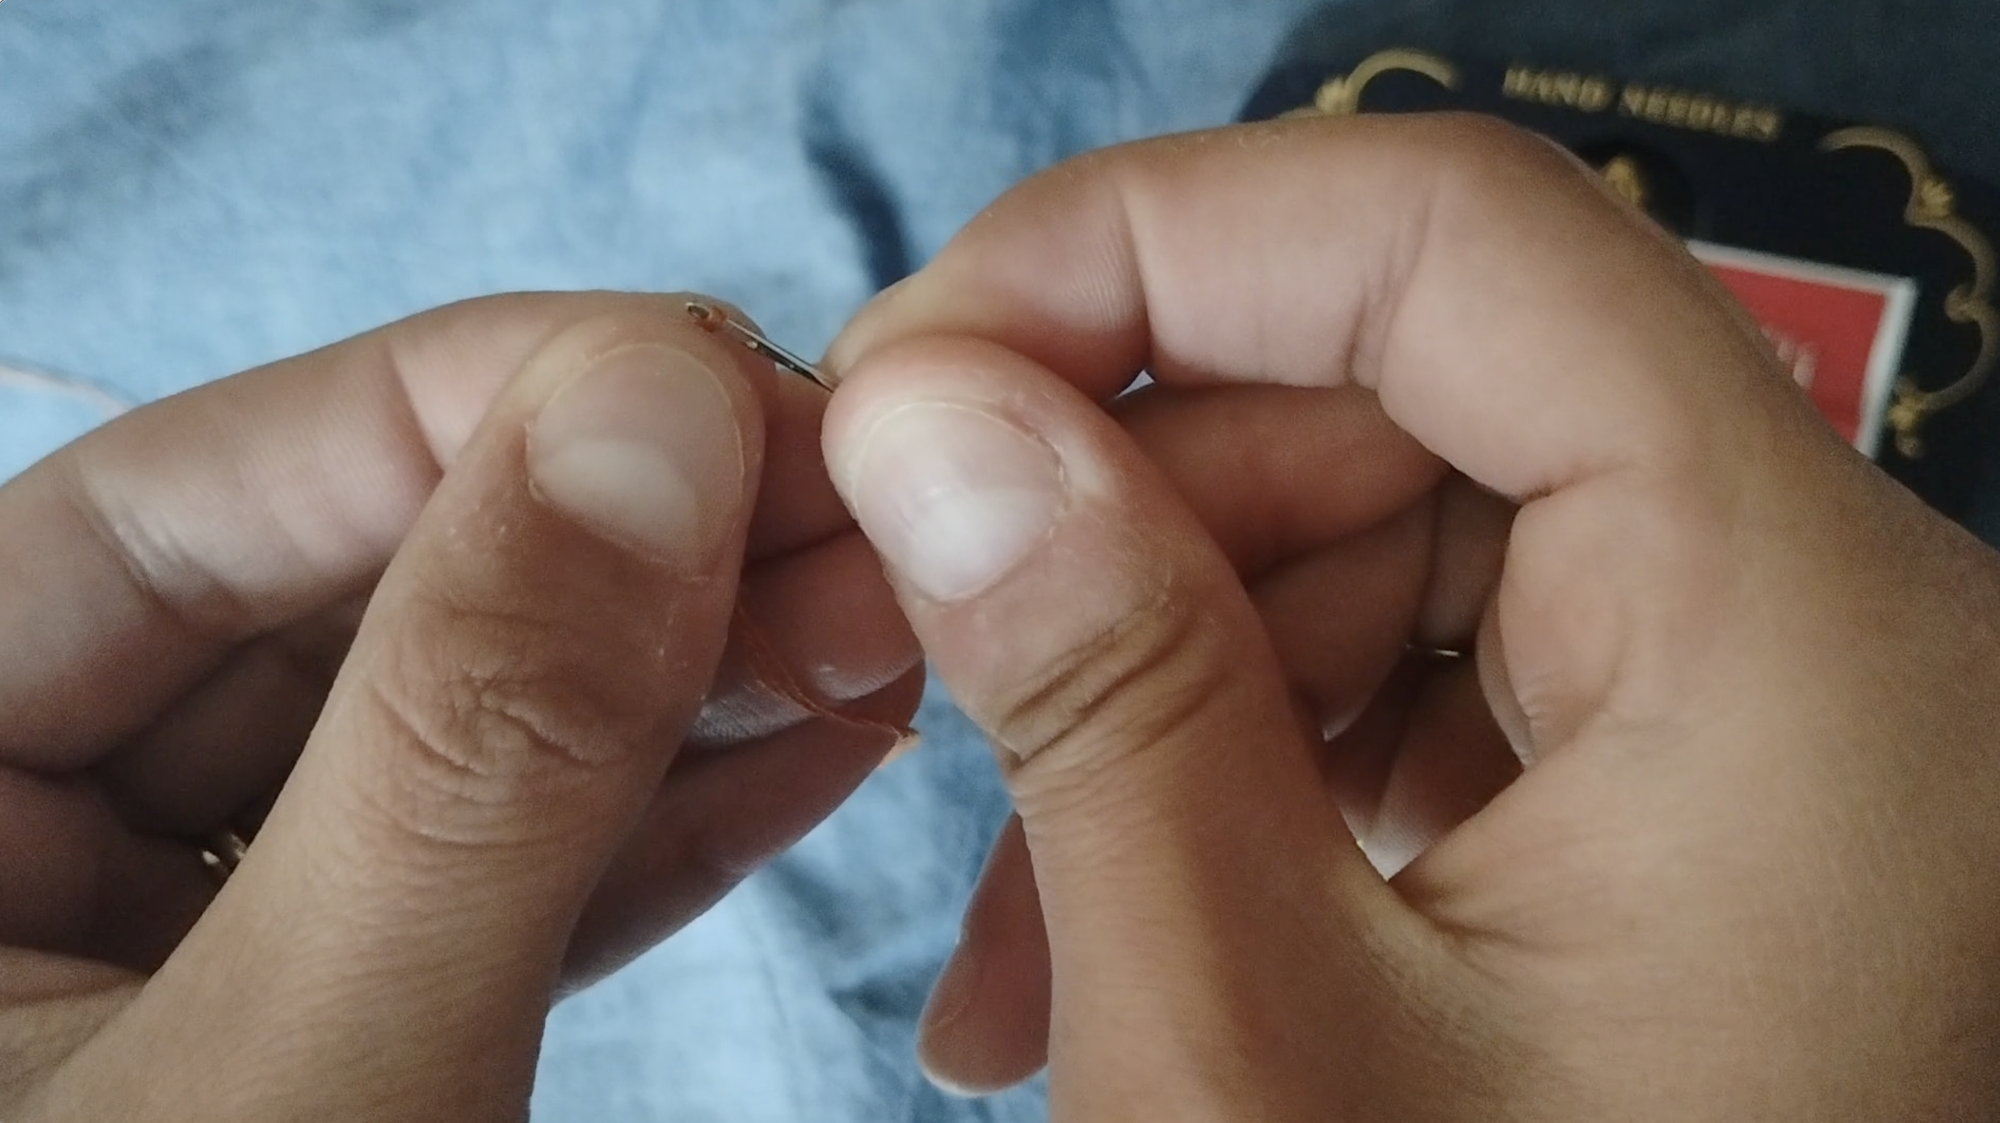
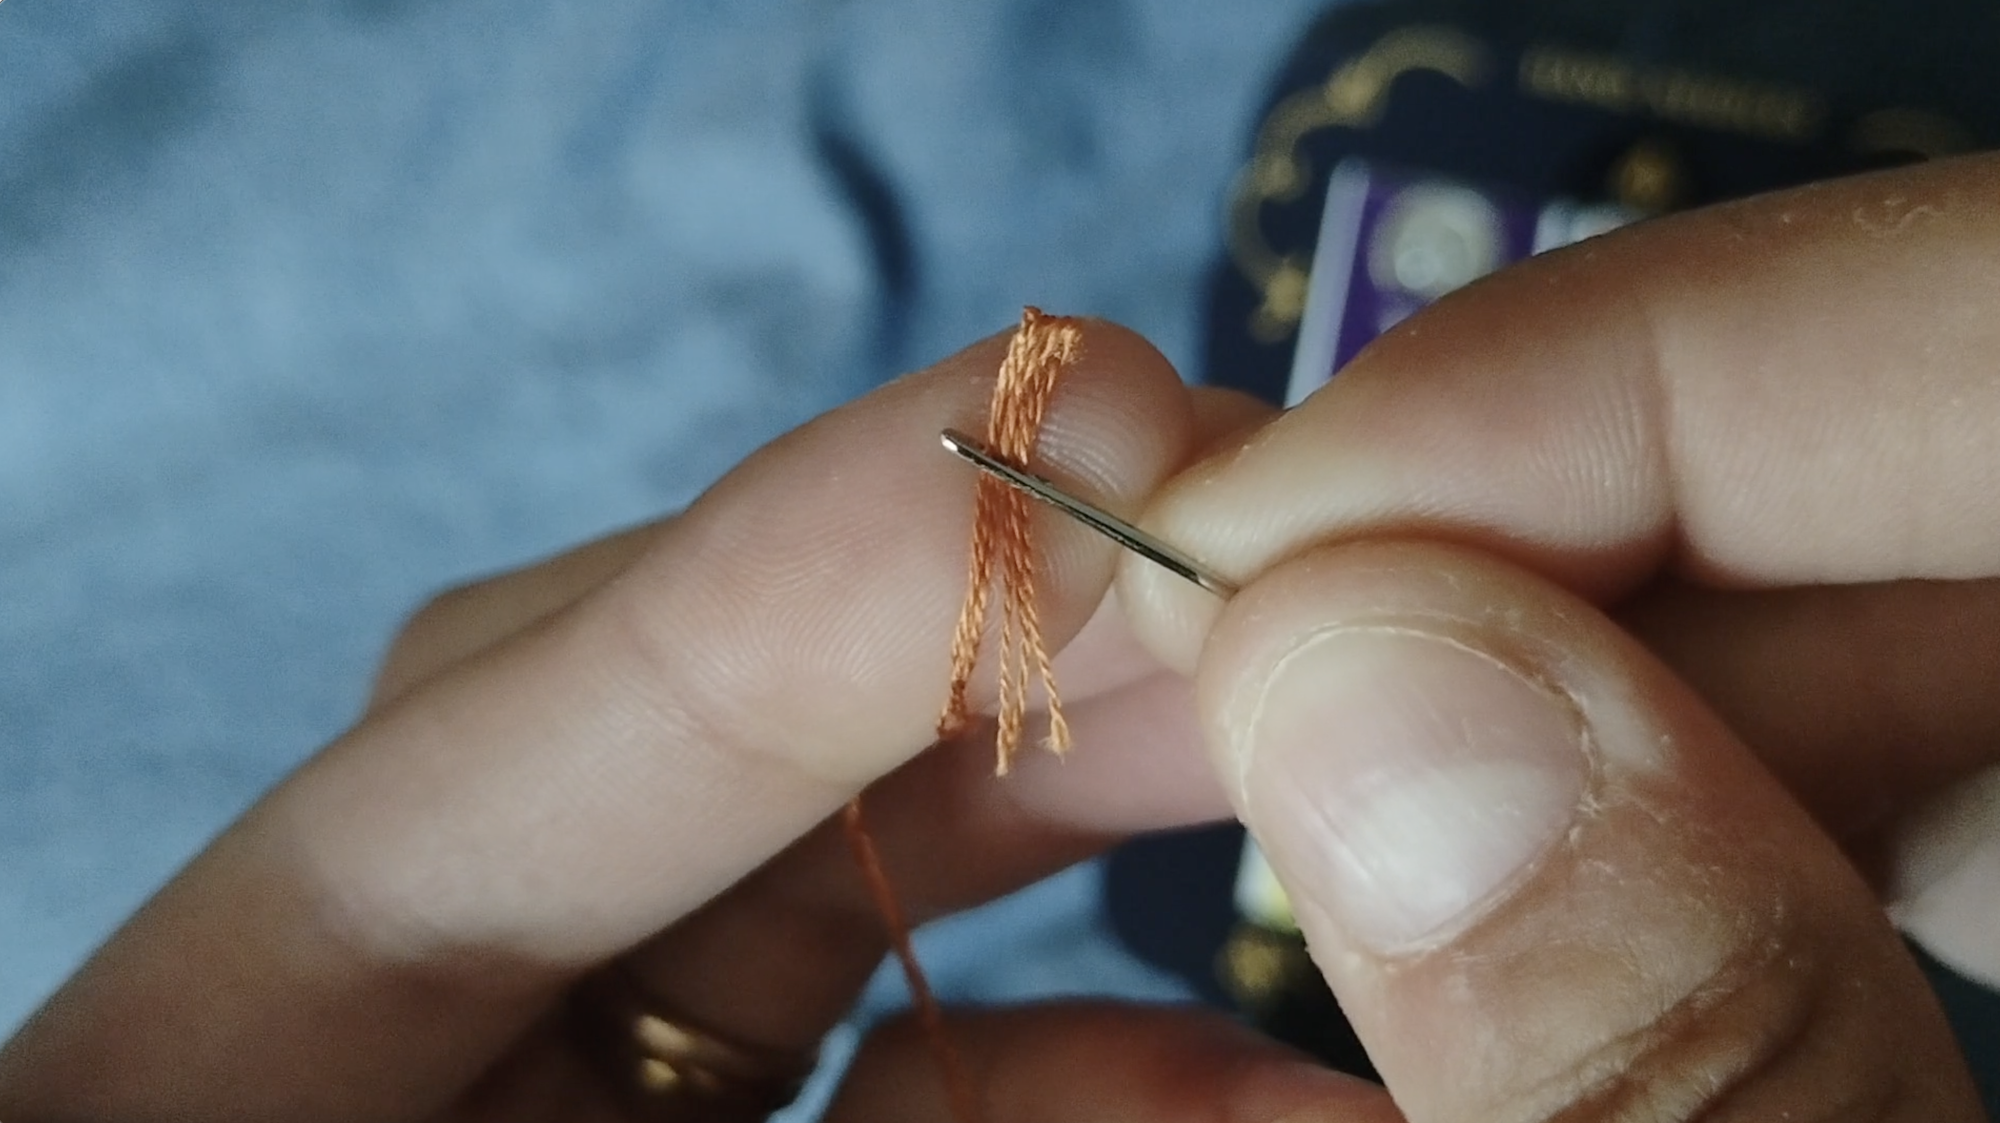
The Foldover Method: This method is similar to the pinch method, but rather than try to fit the end of the thread directly into the eye of the needle, we are creating a "sharper" edge by first folding the thread over the eye over the needle and pulling tightly, so we have a bit of a crease. Then we'll slide the folded thread off the needle and do the same as above: hold the folded-over thread between your thumb and forefinger on your non-dominant hand, and push the eye of the needle over the folded edge of the thread.
Troubleshooting
If everything seems like it is lined up, but the thread just does not want to push through the needle, try flipping the needle around and threading from the other side. Sometimes, our needles can get tiny burrs on the end and around the eye, which are hard to see but can make threading difficult! By turning the needle around, we can avoid the burr, or at least pull it away from the needle rather than trying to drag it through the eye.
If the main problem you are having is the floppiness of the thread, you can stiffen it a couple of ways. I tend to just bite the end to get everything nice and compacted, but beeswax is another common way of getting things to stick together and stiffen up. I've also heard that some people will spray the end with a bit of hairspray!
Tools That Can Help
Self Threading Needle: One option is to purchase special needles that have a small, v- or u-shaped opening at the top. With these self-threading needles, you fit your thread into the v- shaped groove, and pull downward, bringing the thread into the eye of the needle. I haven't tried self-threading needles with Sashiko thread, and they may not work as well for it as they do for sewing thread or smaller strands of floss, but Clover does have a pack that includes 5 sizes here.
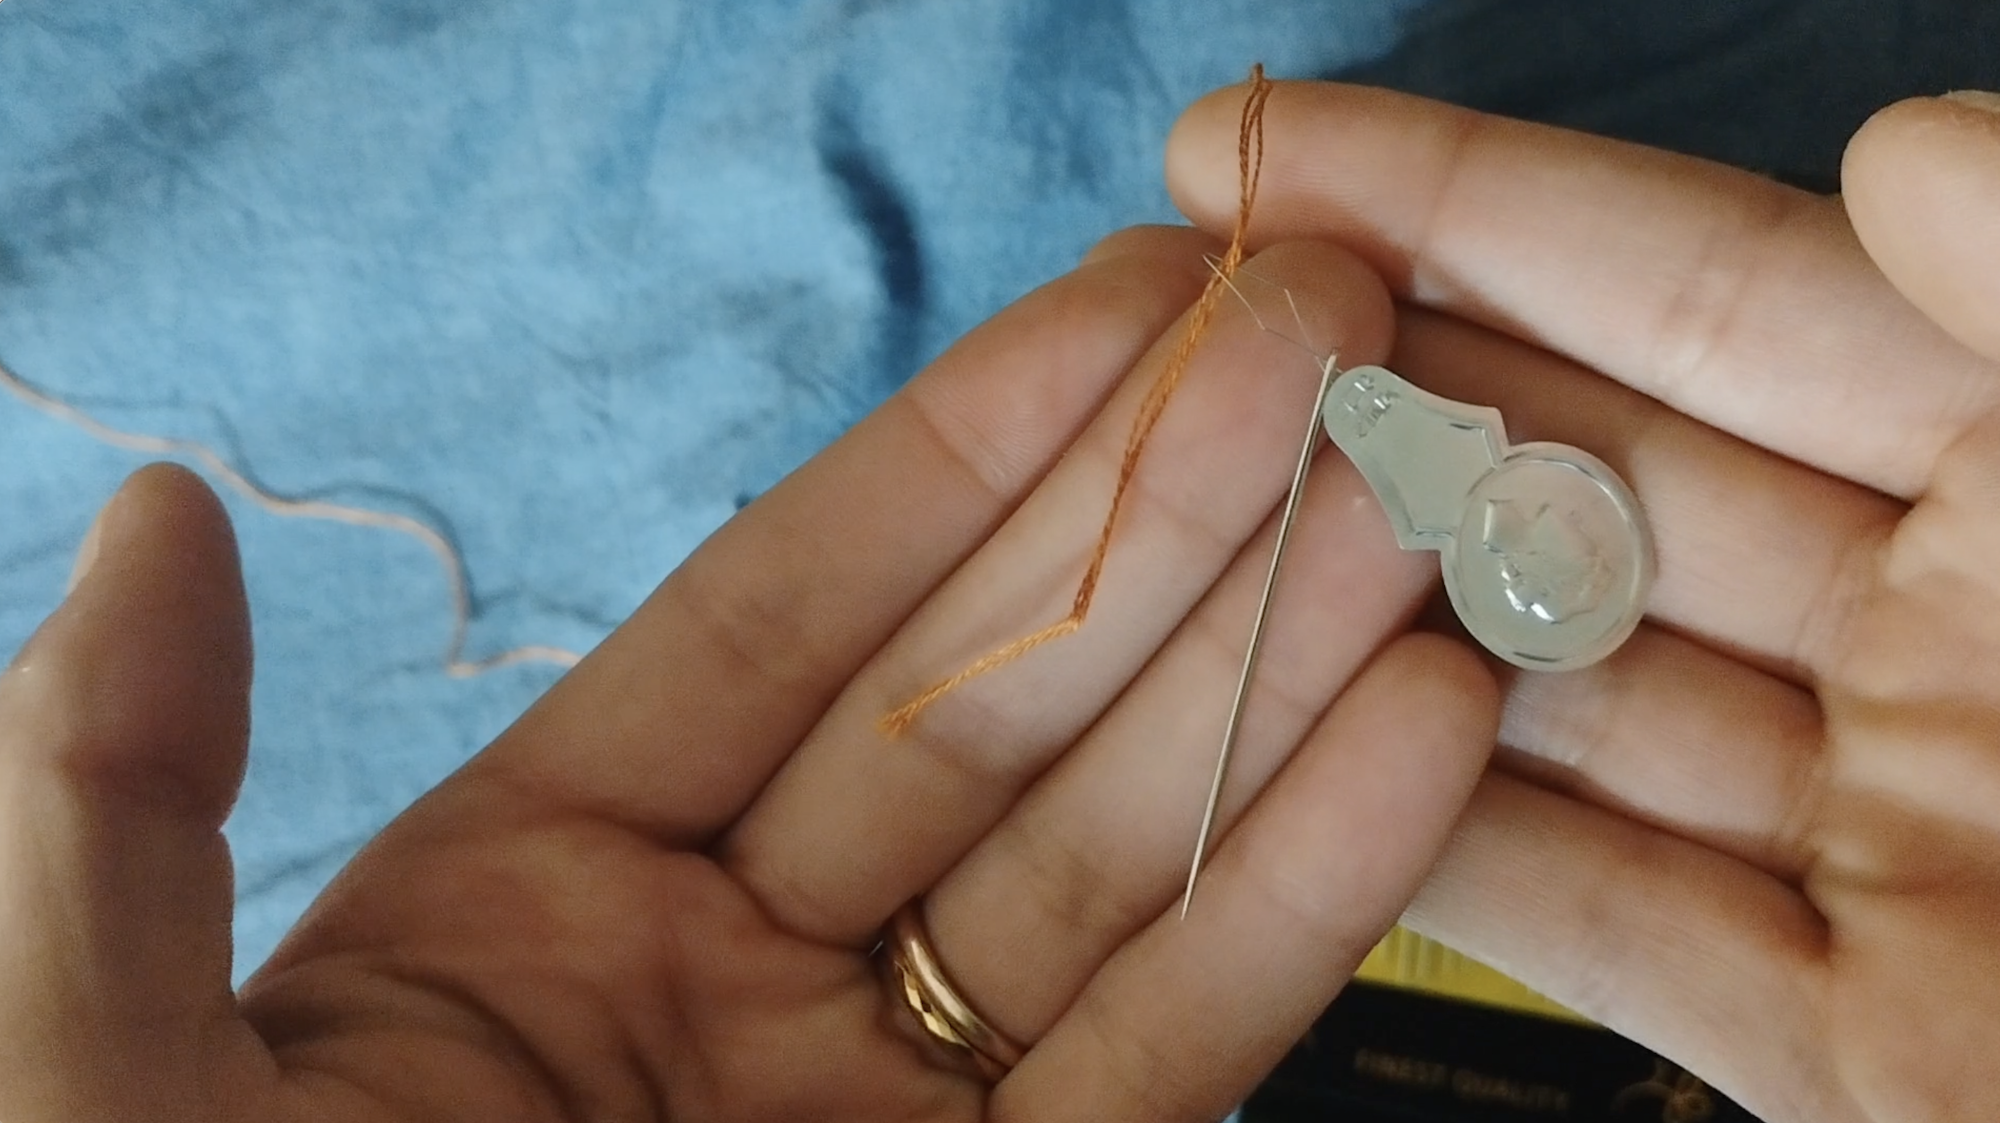
Wire Needle Threader: You've likely seen one of these very common tools before - they are often small, coin-shaped bits of metal or plastic, and they have a large loop on one end made from a thin wire. The wire is stiffer and easier to control than thread, so you can put the loop through the eye of the need, then pull your thread into the loop, which is much larger and easier to see than the eye of the needle. Then you simply pull the threaded loop back through the needle's eye and removed the threader. Many version of this tool are very cheap, like these, though you can also get sturdier options with extra features like LED lights, like this one.
Automatic Needle Threader: If the little wire threaders aren't quite what you need, you may find an automatic threader to be of use. There are a number of different models that work slightly differently, but essentially, you put your needle eye-down in a small slot, place your thread into another groove, and press a button that pulls the thread through the eye. You then remove the needle and finish pulling the loop through. Singer has a version here, and Clover has one here.
Every person will have a different preferred way of threading a needle, and manual dexterity and level of vision are just two of many reasons why not all of these tricks and tools will work for all people, but my hope is that you'll find something here that helps you. And if you have and tips or tricks for threading a needle that aren't listed here, please send us an email to zen[at]zenstitching.ca and we'll add to the list!
Once you've got your needle-threading mastered, you'll be ready to take the next step into learning Sashiko - you can download my Sashiko Essentials: From First Stitch to Mastery guide for free here.

